Master the Art of Oyster Shucking: A Step-by-Step Guide
Uncover the secrets of oyster shucking with our comprehensive guide. Learn how to shuck oysters like a pro, the tools you need, safety tips, and more. From oyster shucking knife techniques to enjoying fresh shucked oysters at a shuck oyster bar, we've got you covered!
Opening an oyster shell may seem like a daunting task. Yet, with the right technique and tools, namely an oyster shucking knife, anyone can master this culinary skill.
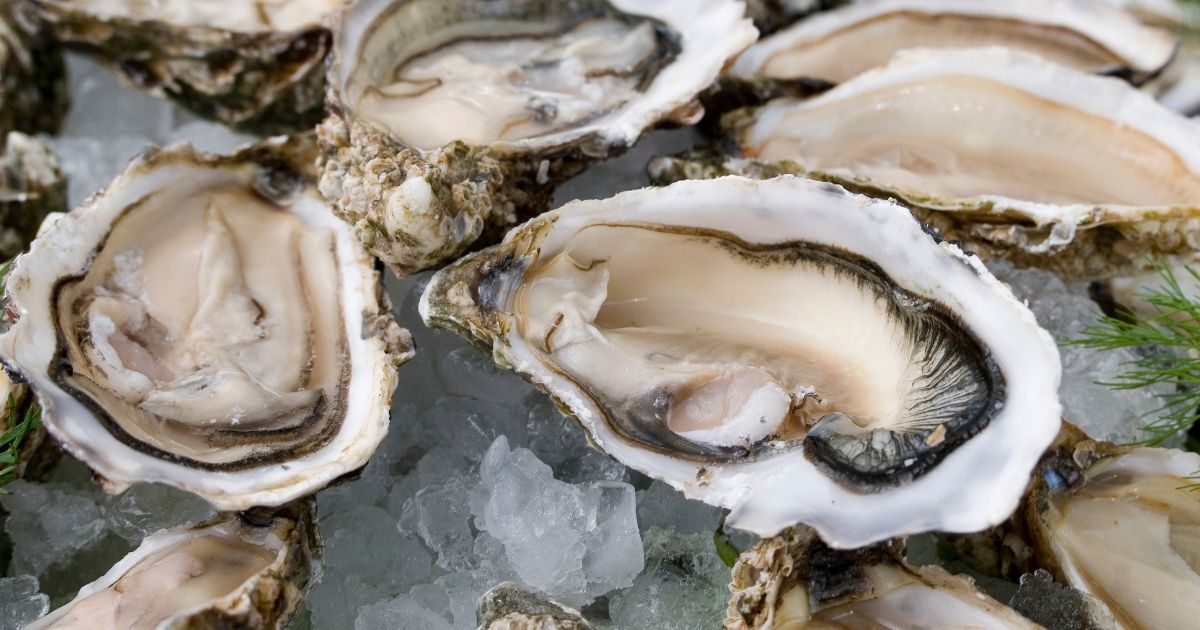
Oysters, known for their salty, briny flavor, are a delicacy enjoyed by many, and nothing beats the taste of fresh shucked oysters. For those who haven't had the pleasure, it's a taste akin to a fresh sea breeze, clean, salty, and invigorating. If you're a fan of seafood, knowing how to shuck oysters is an invaluable skill that will allow you to enjoy this marine treat at its freshest.
How To Shuck Oysters?
Shucking oysters begins with selecting your oysters. Fresh oysters should have a strong, fresh sea smell and tightly closed shells. Reject any with broken shells or those that remain open when tapped lightly; these are signs of a bad oyster.
Choosing the Right Oyster Shucking Knife
The first step in mastering the art of oyster shucking is selecting the right tool – an oyster shucking knife. This tool is specifically designed to handle the rigors of prying open an oyster shell. But what exactly makes an oyster shucking knife unique, and what should you look for when selecting one?
Unlike regular kitchen knives, an oyster shucking knife has a thick, dull blade. This is for two main reasons: safety and effectiveness. The dull edge reduces the chances of a cut while the thickness ensures the blade doesn't snap or bend when applied with force.
When shopping for an oyster shucking knife, you'll notice different styles available. The primary variations are the "New Haven," "Boston," "Providence," and "Frenchman" styles. Each design has its advantages and specific use cases, but for beginners, any style should suffice.
The New Haven style, for instance, has a short, rounded tip and a curved blade, making it perfect for beginner shuckers. The curve helps to easily unhinge the oyster. Boston style, on the other hand, features a long, straight blade, making it great for larger oysters. The Providence style is similar to the Boston, but with a narrower blade, while the Frenchman style has a pointed, slightly longer blade that works great with all oyster sizes.
Remember, the most important thing is comfort. The handle should fit comfortably in your hand, and you should have a firm grip. This prevents slipping, which could lead to accidents. Oyster shucking knives often come with a non-slip handle, providing a secure grip even when wet.
Lastly, quality matters. A good oyster shucking knife will be made of high-quality stainless steel and should feel sturdy. While these knives may cost a little more, they're worth the investment. A quality shucking knife can last a lifetime if cared for properly.
In summary, choosing the right oyster shucking knife comes down to the style of the blade, the comfort of the handle, and the quality of the materials used. With the right tool in hand, you're already halfway to enjoying delicious, fresh shucked oysters.
Shucking Oysters
To start shucking, hold the oyster firmly in one hand covered with a kitchen towel, with the flat side facing up. Insert your oyster shucking knife at the oyster's hinge, the point where the top and bottom shells connect. Gently wiggle your knife to pry the shells apart, but be careful not to spill the precious oyster liquor inside.
Once the oyster is open, use your knife to cut the muscle connecting the oyster to the shell. Do this for both the top and bottom shells. Now your oyster is ready to be enjoyed. Repeat this process, and soon you'll have a platter of fresh shucked oysters ready for consumption.
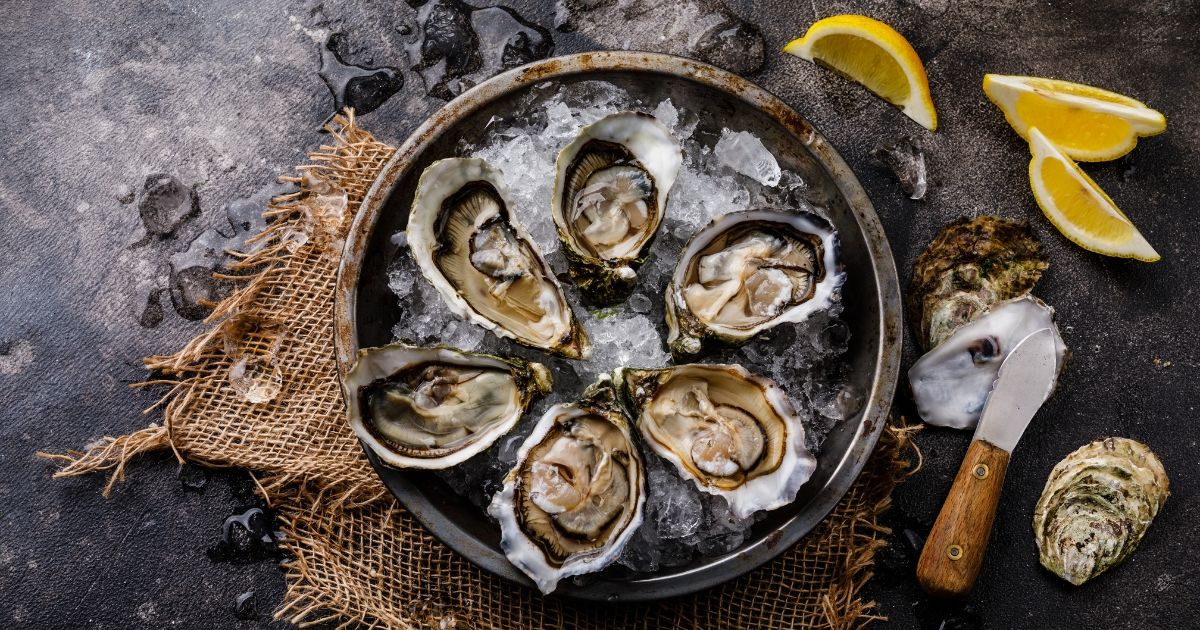
Enjoying freshly shucked oysters is a delight in itself, but pairing them with the right accompaniments can elevate your oyster eating experience. Classic pairings include a squeeze of lemon, a dash of hot sauce, or a drizzle of mignonette sauce. However, every oyster variety has a unique flavor profile, so feel free to experiment with different combinations to find your favorite.
Shucking oysters at home is a skill that seafood lovers should learn. However, if you're still apprehensive about trying it yourself, visit a shuck oyster bar. These establishments specialize in serving fresh oysters and often offer a variety of species from different regions. It's a great way to explore the world of oysters without having to do the shucking yourself.
In conclusion, shucking oysters is a combination of using the right tools, such as the oyster shucking knife, and mastering the correct technique. It may take some practice, but the reward of enjoying fresh shucked oysters is worth every effort. Remember to always prioritize safety when shucking and enjoy the process. Soon enough, you'll be shucking oysters like a pro, whether at home or showing off your skills at a shuck oyster bar.
So, are you ready to start your oyster shucking adventure? Grab your oyster shucking knife, get some fresh oysters, and let's shuck!
What Is The Easiest Way To Shuck Oysters?
Easiest Way to Shuck Oysters
Shucking oysters can seem like a daunting task, but with a little practice and the right technique, you can become an expert in no time. Here's the simplest and safest way to shuck an oyster:
Prepare your station: Lay a thick towel on a sturdy flat surface. This provides stability and protects your hand.
Examine the oyster: Oysters have a flat side and a curved side. Place the oyster flat-side up on the towel. Identify the hinge of the oyster, which is the point where the two shells are joined at one end.
Protect your hand: Use a thick cloth or a special oyster glove to hold the oyster in place. This not only gives you better control but also protects your hand from the knife and the oyster's sharp edges.
Insert the knife: Position your oyster knife at the hinge. Wiggle it gently until you feel it slide into the gap between the shells.
Twist the knife: Once your knife is inside, twist it like a key to pry the shell open. Avoid using force to push it in further as this could cause injury or damage the oyster's meat.
Open the oyster: Slide the knife along the inside of the upper shell to cut the muscle that attaches the oyster to the shell. Be careful not to spill the tasty juice - known as the oyster's liquor - that's inside.
Detach the oyster: Use your knife to cut under the oyster meat to sever the muscle holding it to the bottom shell. Now, your oyster is ready to be served!
Remember, shucking oysters is a skill that takes practice, so don't be discouraged if your first few attempts are a bit rough. With patience and the right technique, you'll soon be shucking oysters with ease.
How Do You Shuck An Oyster without A Shucker?
Shucking an Oyster without a Shucker
If you find yourself without a dedicated oyster shucking knife, don't worry - there are still ways to open oysters safely. Here's how:
- Choose a suitable substitute tool: While an oyster shucking knife is ideal, you can also use a sturdy flat-head screwdriver or a durable, rigid, and narrow knife as a substitute.
- Prepare your station and protect your hand: As with any shucking method, lay a thick towel on a sturdy flat surface and hold the oyster firmly in place with a protected hand.
- Insert your tool: Position your tool at the hinge of the oyster. Apply firm but gentle pressure until the tool slips in.
- Twist your tool: Just like you would with a shucking knife, twist your tool to pry the oyster shell open.
- Cut the muscle: With the shell open, cut the muscle holding the oyster meat to the shell. Be careful not to spill the oyster's liquor.
- Serve: Finally, free the oyster from the bottom shell and it's ready to serve.
This method may be a little more difficult, as an oyster shucking knife is designed specifically for this task and substitutes might not have the exact shape or sharpness. Therefore, always be extra cautious when using an alternative tool to avoid any accidental injury.
Do You Soak Oysters Before Shucking?
Preparing Oysters for Shucking: To Soak or Not to Soak?
While it's not absolutely necessary to soak oysters before shucking, some people prefer to do so to clean them thoroughly. Oysters live in the sea and their shells can be coated with sand, grit, and small sea creatures. Soaking oysters in fresh water or salt water can help to remove these unwanted elements, making the process cleaner and more hygienic.
Here's how to do it:
- Prepare a large bowl or basin with fresh water: If you have access to clean sea water, this is an even better choice, as fresh water can kill oysters.
- Soak the oysters: Submerge the oysters in the water for about 20 minutes.
- Scrub the shells: Using a stiff brush, scrub the shells to remove any dirt or grit. Don't scrub too hard, though, as you don't want to damage the shells.
- Rinse and chill: Rinse the oysters under cold water and refrigerate them until you're ready to shuck.
Soaking and cleaning your oysters not only makes the shucking process more pleasant, but also ensures that no grit or sand ends up in your final dish. It's an extra step that's well worth the effort if you have the time.
How Do You Clean And Shuck Raw Oysters?
Cleaning and Shucking Raw Oysters: A Step-by-Step Guide
Cleaning and shucking raw oysters might seem intimidating, but with the right tools and a bit of patience, you can master this culinary skill. Here’s how you can clean and shuck raw oysters at home:
Cleaning the Oysters:
Gather Your Supplies: You will need a scrub brush, a large bowl or basin, and fresh or seawater. Remember to keep your oysters refrigerated until you're ready to clean them.
Prepare Your Water: Fill your bowl or basin with fresh water. As mentioned before, if you have access to clean seawater, that's an even better option.
Soak and Scrub: Soak your oysters in the water for about 20 minutes. Then, use the scrub brush to clean the shell, being careful not to apply too much pressure as you could damage the shell.
Rinse and Chill: After scrubbing, rinse the oysters under cold water. Then, refrigerate them until you're ready to shuck.
Shucking the Oysters:
Prepare Your Tools: You'll need an oyster knife and a thick kitchen towel or a pair of protective gloves.
Wrap the Oyster: Place the oyster flat-side up on the towel and fold it over the oyster, leaving the hinge exposed. This not only provides a good grip but also protects your hand.
Insert the Knife: Hold the oyster firmly with your non-dominant hand. With the knife in your dominant hand, insert the tip of the knife into the hinge, twisting it until the shell pops open slightly.
Open the Oyster: Slide the knife along the inside of the top shell to sever the muscle that holds it closed. Then, do the same with the bottom shell. Be careful not to spill the precious oyster liquor (the flavorful briny liquid inside).
Remove the Shell: Lift off the top shell, and then carefully slide the knife under the oyster meat to sever it from the bottom shell. Now your oyster is ready to serve!
Remember, practice makes perfect when it comes to shucking oysters. It may take a little time to get the hang of it, but once you do, you'll be able to enjoy fresh, raw oysters whenever you like!


